The fireplace’s warm glow and inviting atmosphere can make any space feel like home. However, over time, you may need to remove and replace your fireplace inserts due to wear, inefficiency, or simply to update the style. Whether you have a wood-burning, gas, or electric fireplace, it’s essential to understand how to replace a fireplace insert. This article will provide a step-by-step guide, including considerations for various types of inserts.
Find yourself wondering about the cost of building a house or testing your solar panel? Check out these articles.
Identifying Your Existing Fireplace
Gas Fireplace
Recognizable by the gas line running to it, a gas fireplace provides the ambiance of real flames without the manual effort of wood-burning.
If your existing setup is a gas fireplace, you can upgrade within the same category. Alternatively, you can switch to an electric fireplace insert or a traditional wood-burning fireplace.
Electric Fireplace
Electric inserts possess a plug-in setup and heating element. They don’t require a chimney and are typically easier to maintain than their gas or wood-burning counterparts.
To replace an electric fireplace insert, note its dimensions and the location of the nearest electrical outlet.
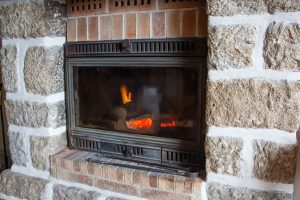
Wood Burning Fireplace
A wood-burning fireplace boasts authentic flames, crackling logs, and a natural ambiance. You can also transition to the ease of gas fireplaces or electric inserts.
Deciding on Your New Insert
Given the many electric fireplace inserts and gas fireplace models available, your choice will largely hinge on a few factors. They include personal preferences, ease of use, maintenance considerations, and aesthetic appeal.
Upgrading within the Same Category
If you love your gas fireplace’s warmth and natural flicker but seek a more modern or efficient model, then replacing it with a newer gas fireplace insert might be your best option.
Similarly, electric fireplace enthusiasts might be attracted to modern electric inserts. That’s understandable, considering its enhanced features, customizable flame settings, and sound effects.
Switching Between Categories
Transitioning from a wood-burning fireplace to a gas or electric version drastically reduces the effort you put into starting and maintaining a fire.
On the other hand, if you find the allure of natural flames irresistible shifting from an electric or gas setup to wood-burning may be an option.
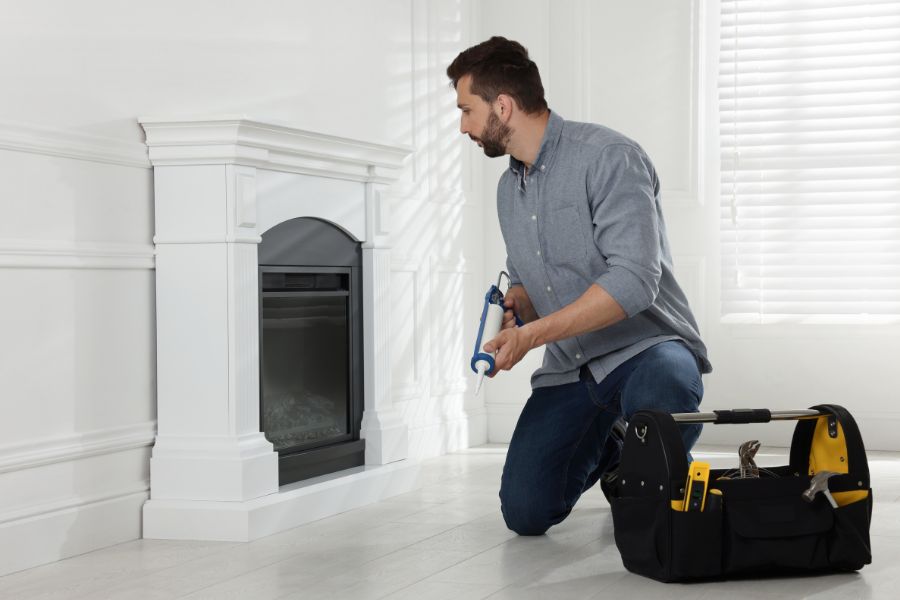
Preparing for the Replacement
Like any house construction, you need to prepare to replace your fireplace insert. So, once you’ve decided, the next step is to prep your existing fireplace for the new insert.
Gas Fireplaces
For safety, ensure that the gas is completely turned off at the main gas line before attempting any removal. Given the risks associated with gas, consider hiring a professional if you’re uncertain about the process.
Electric Fireplace Inserts
Disconnect the electric insert from its electrical outlet. Check to confirm there’s no residual energy, and keep the plug safe, away from children or pets.
Wood Burning Fireplaces
Before removing the existing fireplace insert, thoroughly clean out all ashes, debris, and any unburnt wood from the fireplace opening. This prepares the space for a smooth installation process.
Removing the Old Fireplace Insert
Dismantling the old fireplace insert is a crucial phase in the installation process. While the task seems straightforward, it’s essential to approach it cautiously. First, adhere to every safety protocol and take note of the following.
Gas Insert Removal
Before starting, ensure the gas line is entirely shut off. This step cannot be overemphasized; safety should be your top priority.
With safety measures in place, disconnect the gas insert from the main gas line. Also, put on protective gloves to avoid getting covered in soot or getting hurt by the sharp edges.
Some gas inserts are connected to vent liners that help channel out the combustion gases. Carefully disconnect from this vent, ensuring no obstructions or damage to the liner.
Once all connections are loose, pull the gas insert from the existing masonry fireplace or any other installation frame carefully.
Electric Insert Removal
First, unplug the electric insert from the power outlet. Ensure the switch is off and the unit is cool to the touch.
If your old fireplace electric insert is bolted or fixed with brackets, unscrew or unhook these attachments.
Afterward, carefully slide out the electric insert, looking for any attached cables or wires that might get caught during removal.
Wood Burning Fireplace Insert Removal
Ensure that the wood-burning fireplace has been unused for sufficient time to avoid residual heat. Clear out any ashes or partially burned logs because a clean workspace makes your tasks easy.
Also, detach any vent liners or connections that aid in channeling out smoke and warm air. Finally, pull out the insert with loose connections, using appropriate tools if necessary.
Choosing the Right Insert for Your Space and Needs
Once the old fireplace insert is out, it’s time to find the perfect replacement. Your choice hinges on your desire for heat output, aesthetics, and ease of use.
Gas Insert
A gas insert might be your best bet if you’re keen on a genuine flame that provides a consistent heat output. Newer models are energy-efficient and balance the authentic fireplace experience and modern convenience.
However, you need to confirm that the chosen model is compatible with your existing gas line and venting system.
New Electric Fireplace Insert
Electric fireplace inserts are the epitome of convenience. A new electric fireplace model might include various features like adjustable flame heights, customizable colors, and even simulated crackling sounds.
Installation usually only requires a power outlet nearby. So, it’s an ideal choice for those who want minimal fuss.
Wood Burning Insert
For those who find the scent and crackle of natural wood irresistible, a wood-burning insert can transform your space. It offers warmth and a sensory experience.
Remember that these inserts require a venting system, often through a chimney or dedicated vent liner. That ensures the safe expulsion of smoke and maintains warm air circulation.
Installation of the New Fireplace Insert
After removing the old fireplace and choosing your perfect replacement, the next step is the installation. This phase is critical not just for aesthetics but for safety and optimum heat output as well. Let’s delve into the installation process for each type of insert.
Gas Fireplace Insert Installation
First, place the gas insert into the existing masonry fireplace or designated space. Ensure that it sits level and fits snugly within the opening.
Next, you’ll reconnect the gas line to your new insert. Use a wrench to check that all links are tight and sealed to prevent gas leaks. If your model requires a vent liner, attach it as directed by the manufacturer’s instructions, and check for a secure fit.
Before igniting, examine it for gas leaks using a soapy water solution around the connection points. Bubbles indicate a leak, necessitating a recheck of connections. Always ensure there’s adequate ventilation during this process.
Finally, once you’re confident of all connections and the absence of leaks, turn on the gas and ignite your new insert according to the manufacturer’s instructions.
Electric Fireplace Insert Installation
Slide your new electric fireplace insert into the space so it fits perfectly in the existing opening. Some electric inserts come with adjustable panels or trim kits to provide a seamless fit.
Afterward, find a nearby power outlet. If the existing masonry fireplace doesn’t have one, you might need to install a new outlet or use an extension cord. It’s ideal, however, to have a dedicated power outlet for your fireplace to avoid overloading circuits.
Plug in the electric insert and secure any screws or brackets, if included. Test the fireplace for all its settings, adjusting flame intensity and heat output as needed.
Wood Burning Fireplace Insert Installation
Clean the fireplace opening thoroughly, ensuring no residual soot or debris might hinder the installation. Then, carefully position the wood-burning insert within the fireplace opening. Some models may be hefty and require more than one person or equipment to set correctly.
Connect the insert to the chimney or the vent liner. Ensure all seals are tight and the flue fits securely.
Finally, to test its smoke’s draw and the warm air’s circulation, light a small fire. Monitor for any leaks or issues.
Safety Tips and Maintenance for Your New Fireplace Insert
Now that you have installed your new fireplace insert, following some safety tips and performing regular maintenance to keep it running efficiently is important.
Creosote Buildup
Creosote is a flammable residue that builds up inside the chimney. Thus, inspect your chimney annually and sweep if necessary to remove creosote and debris. Creosote fires are hazardous, so this step is critical.
Proper Venting
Ensure your fireplace insert has proper venting to the outside. The venting system releases toxic fumes like carbon monoxide, whether in a chimney or a direct vent. Venting issues can be lethal, so check that all connections are tight and unobstructed.
Choosing Firewood
Only burn dry, seasoned hardwoods like oak, hickory, or ash in your fireplace insert. Softwoods like pine burn too quickly and produce excess creosote. Wet wood also burns poorly and creates more pollution. Keep firewood stored in a dry area, covered and off the ground.
What Next?
After you’ve securely placed your new insert, take some time to read the manufacturer’s guidelines. Replacing a fireplace insert is a task that requires careful consideration, preparation, and safety precautions.
Whether upgrading from an existing masonry fireplace or transitioning, with the right steps, your new fireplace will be ready to provide warmth and comfort for many years.